


The appearance of harvest time evokes colder climate, vivid foliage, apple picking, and, obviously, Halloween, which incorporates the universally adored fall pastime: cutting pumpkins.
Let’s check how can you design an ideal pumpkin:
Picking the Correct Pumpkin:
The absolute initial step is to locate the correct pumpkin for cutting. There are bunches of pumpkins out there. However, they’re regularly categorized into two kinds: pie pumpkins and cutting pumpkins. Sugar pumpkins, which is what pie pumpkins are referred to as, are pretty much nothing but round and ideal for warming. Cutting pumpkins are greater, yet have much less guts and easier walls, which makes them easier to clean.
Before buying the pumpkin, make sure your pumpkin isn’t starting to rot by making sure the walls aren’t softening. Remember, the freshest pumpkins last the longest, so consider purchasing your cutting pumpkin at a “pick-your-own” ranch.
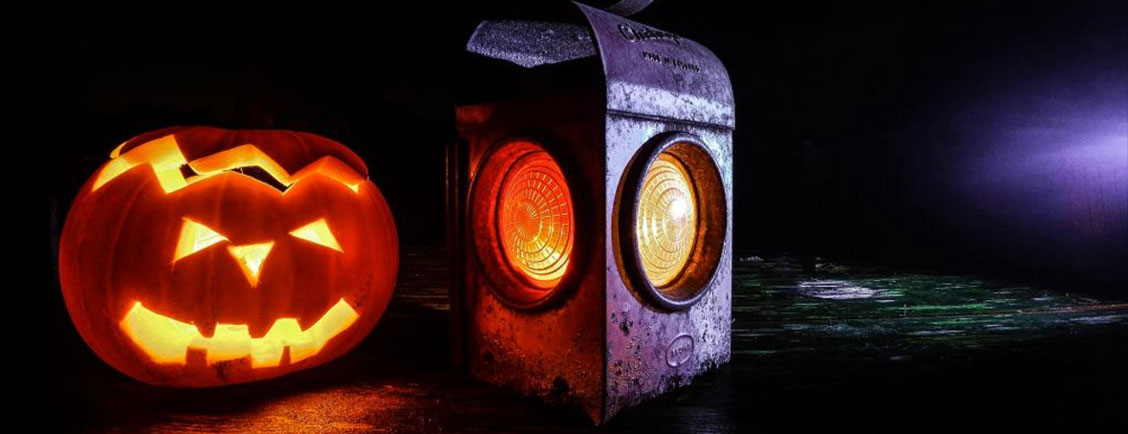
Cutting starts:
A marker or a pen is just what you need to make a circle around the pumpkins head. A serrated blade is the tool needed for slicing through the line for making a cover removable. Liftoff the cover and utilize a large metal spoon to scratch the inside guts. You can expel the seeds after you roast the pumpkin in a broiler.
Next, make eyes, nose, mouth and teeth by using a marker for the patterns. Make the patterns with a little paring blade or a keyhole saw. If there is an issue with the pumpkin moving while you cut, you can get a massive container, set it up with a towel, and place your pumpkin on top.
Above is the conventional method to cut a pumpkin, yet another mainstream technique for making help cuts into the pumpkin is using specific pumpkin-cutting tools, which are available at stores. After this, when a candle light will pass through the thing, your pumpkin will have a shimmering look.
Let there be light:
Now for the lighting part, use a candle or small light at the pumpkins base. To light up the pumpkin, a lighter or long matchstick makes it easiest. Drill a little gap, about ½ inch in measurement, in the cover to go about as a smokestack to permit warmth to getaway.
You’re Done!:
You’re finished! Your jack-o’- light will last more if you plunge it in an ice shower with a cup of dye. What’s more, rub oil jam on the edges of the patterns to seal in dampness.
However, don’t get too attached to your new Halloween artistry. Eventually, it’ll rot away and get eaten by squirrels, or be crushed to pieces by mischievous children. It’s tradition!
And when you visit us, you’ll find all treats and zero tricks. Browse our new and used inventory and contact us today!
Connect with us


Recent Blog Entries
Categories

Price does not include dealer installed options or cost of optional equipment chosen by the purchaser.